Pulsing UE4 material and Material baking back into a texture #First post of 2018!
Welcome, we made it to 2018. Well done everyone!
It's been a roller coaster of a year but it's important to keep pushing and learning. Every day is a school day. Our big project continues to roll on with extensions and the internal-external pressure to do better keeps us on our toes.
This week I learnt some great techniques for UE4.
It's been a roller coaster of a year but it's important to keep pushing and learning. Every day is a school day. Our big project continues to roll on with extensions and the internal-external pressure to do better keeps us on our toes.
This week I learnt some great techniques for UE4.
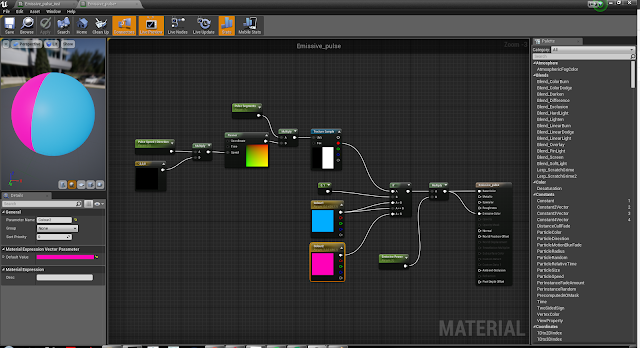
First a simple yet satisfying pulse directional material.
This material is designed to be used as an instance. You can pulse any two colours, broken into segments with a positive or negative speed direction. The emissive power will control the brightness and you can copy the black and white texture box below. A great time saver.
(black and white texture box)
And, finally how to bake complicated materials back down into a simple texture.
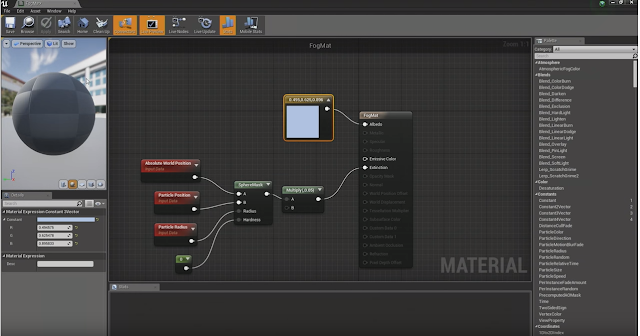
Ever had that feeling of jaw-dropping disappointment when you open a new material to discover a spaghetti mess of textures and nodes like the one below?
Fear no more, it's pretty simple to bake all those materials together back into textures!
Make a new 'Render Texture' asset from 'Materials and textures'. Call it RT_texture_baker.
Now make a 'Blueprint' Actor and call it BP_render_target.
In the event graph make a custom event called bake. Create two variables RenderTarget and MaterialtoRender. Don't forget to make these visible.
In the Construction Script connect the call function bake as the render target.
Drag the BP into the map, and drag the render target material and material to render into the default section of the Details outliner. (See far right)
OK, this seems complicated but honestly if I can do it. You can too.
Set the material to unlit and then one by one, plug the Base, Metal, Roughness and Normal into the emissive colour. Apply, and then switch back to the map. You will notice that the material has now switched on your mesh to just the input.
At this point just move the BP to update the RT_texture_bake. This can take a few seconds. Once you have an updated image, right click and create a static texture. Rince and repeat for all.
You will now have four textures. I have found the normal to be a little shallow and is missing a small amount of detail. Of course, you can always find the original normal in the mess of spaghetti easily and just use that one instead.
Now you can create your own new material and add your own artistic material flare.
I have found this very useful for VR projects especially for assets purchased from the UE4 marketplace. Good luck!


