How to Blend assets with your Landscape in UE4 Runtime with Virtual Texturing (RVT)
Virtual Texture support for your project enables you to create and use large-sized textures for a lower—and more consistent—memory footprint at runtime.
RVT supplies an efficient way to render complex, procedurally generated, or layered materials. This makes RVT ideal for rendering complex materials for Landscapes. It enables improved rendering performance and workflows for Landscape Splines, decals for meshes and materials, along with general Landscape and object blending.
The unreal Sensei provides a great tutorial on how to set up virtual textures:
The unreal engine documentation can be found here:
https://docs.unrealengine.com/4.27/en-US/RenderingAndGraphics/VirtualTexturing/
The process is divided into four parts:
1. Enabling VT in the project
2. Creating Runtime Virtual Textures
3. Landscape Master Material for RVT
4. Asset Master Material for RVT
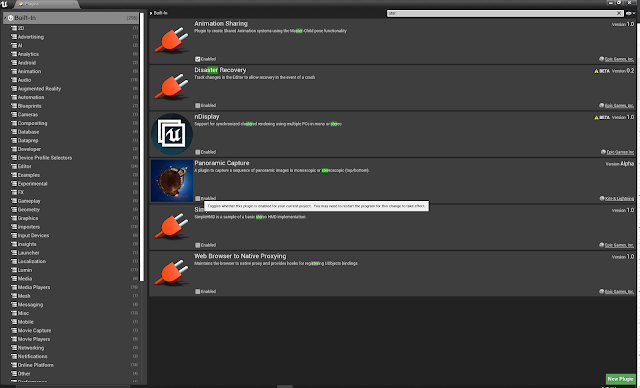
1. Enable virtual Textures and mobile support in project settings.
As simple as it sounds, also enable mobile support. The project will require a restart.

2. Create two Runtime Virtual Textures

2a. Name one Height, and under Layout Virtual texture content, select World Height. Change the size of the virtual texture in tiles to suit the project but 1024 will be suitable for a medium to large map.

2b. Name the other Material and under Layout Virtual texture content, select Base colour, Normal, Roughness and Specular. Change the size of the virtual texture in tiles to suit the project but 1024 will be suitable for a medium to large map.

2c. Create the virtual texture bounds in your environment.
Drag in a RuntimeVirtualTextureVolume for the capture area and use the picker icon to select the landscape and set bounds. Then drag in the virtual texture into the texture field and build streaming texture. Do this twice for Height and Material.

3. Landscape Master Material for RVT
All landscape master materials will be different, but you need to create a Runtime Virtual Texture node with Basecolor, Specular, Roughness and Normal inputs. The Normal output will need a Transform Vector to change from Tangent space to World space. World Hight is input through Absolute World Position and a B channel mask.

Make sure to tick Use Full Precision on Mobile.

4. Asset Master Material for RVT
In the asset parent material, some additional nodes will need to be added to enable virtual texture blends.

A Blend Material Attribute node will use the Landscape Material and the Asset material with an Alpha controlling the blend variation.
The Normal will need a Transform Vector to change back from World Space to Tangent Space. Hook up the correct Virtual texture and use the correct virtual texture content from the dropdown.


The Blend used the VT Height sample Parameter. Use the correct texture and dropdown.


RVT supplies an efficient way to render complex, procedurally generated, or layered materials. This makes RVT ideal for rendering complex materials for Landscapes. It enables improved rendering performance and workflows for Landscape Splines, decals for meshes and materials, along with general Landscape and object blending.
The unreal Sensei provides a great tutorial on how to set up virtual textures:
The unreal engine documentation can be found here:
https://docs.unrealengine.com/4.27/en-US/RenderingAndGraphics/VirtualTexturing/
The process is divided into four parts:
1. Enabling VT in the project
2. Creating Runtime Virtual Textures
3. Landscape Master Material for RVT
4. Asset Master Material for RVT
1. Enable virtual Textures and mobile support in project settings.
As simple as it sounds, also enable mobile support. The project will require a restart.

2. Create two Runtime Virtual Textures

2a. Name one Height, and under Layout Virtual texture content, select World Height. Change the size of the virtual texture in tiles to suit the project but 1024 will be suitable for a medium to large map.

2b. Name the other Material and under Layout Virtual texture content, select Base colour, Normal, Roughness and Specular. Change the size of the virtual texture in tiles to suit the project but 1024 will be suitable for a medium to large map.

2c. Create the virtual texture bounds in your environment.
Drag in a RuntimeVirtualTextureVolume for the capture area and use the picker icon to select the landscape and set bounds. Then drag in the virtual texture into the texture field and build streaming texture. Do this twice for Height and Material.

3. Landscape Master Material for RVT
All landscape master materials will be different, but you need to create a Runtime Virtual Texture node with Basecolor, Specular, Roughness and Normal inputs. The Normal output will need a Transform Vector to change from Tangent space to World space. World Hight is input through Absolute World Position and a B channel mask.

Make sure to tick Use Full Precision on Mobile.

4. Asset Master Material for RVT
In the asset parent material, some additional nodes will need to be added to enable virtual texture blends.

A Blend Material Attribute node will use the Landscape Material and the Asset material with an Alpha controlling the blend variation.
The Normal will need a Transform Vector to change back from World Space to Tangent Space. Hook up the correct Virtual texture and use the correct virtual texture content from the dropdown.


The Blend used the VT Height sample Parameter. Use the correct texture and dropdown.


Finally, using the Material instance, you can control the 'Virtual Blend Height' and the 'Virtual falloff' parameters to achieve a seamless texture blend.