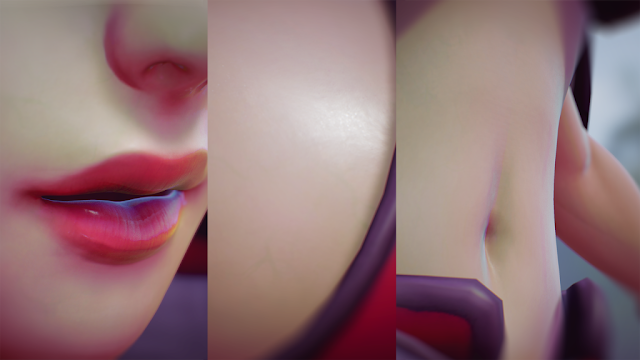
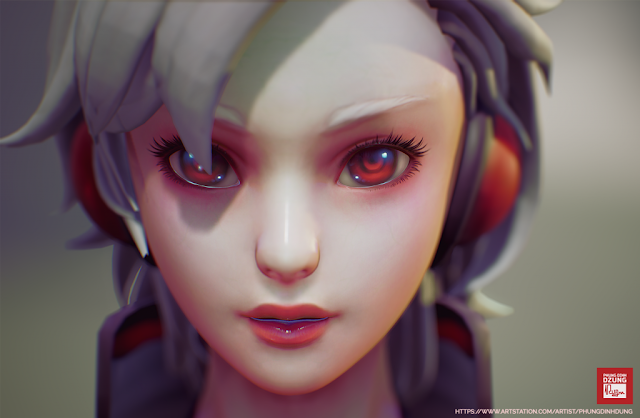
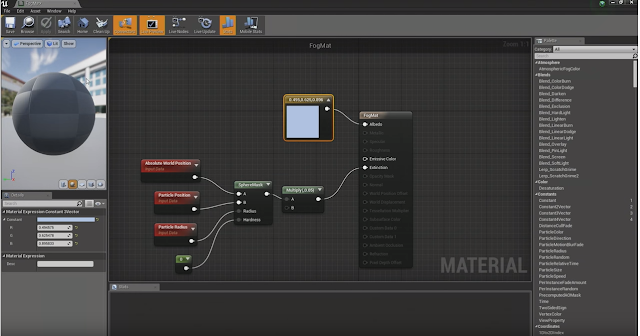
Skin Material in UE4
Hey internet, another quick post about a hugely talented artist called Dzung Phung Dinh.
I was looking for a tutorial on how to make realistic subsurface scattering materials for human skin and found this amazing page.
I'm not going to repost it all, if you want to learn how to do it, check it out here:
Dzung Phung Dinh got the 1st place winner in modeling demo reel contest of the very first year of Autodesk Contest for students ( CGSA ) back in 2010. Now they call it “The Rookies”. He has been working in 3D graphic industry for 10 years. Working as a Game Artist for Rare UK and on a series of marketplace assets for some Xbox games: Fable III and Halo Reach, Later moving on to VFX/film industry, working as Creature Effect & generalist artist for Double Negative London on feature films like John Carter Of Mars, Snow White & the Huntsman, 007 Skyfall.
Now, he's the Founder and Team Lead of his own studio – Thunder Cloud, based in Vietnam, which creates exclusive quality assets for worldwide game development studios, which need support or which are outsourcing their art production. The ultimate goal at Thunder Cloud is to become an animation studio creating animation & cinematics, using real-time tech. That’s why at the present, UE4 is one of the focus and key R&D projects.
Reference material is very important to begin a project.

Beginning with a Subsurface material, then start working up from there, looking at the 2D painting and watching, which elements are missing, and find a way to replicate the same effect in UE4.
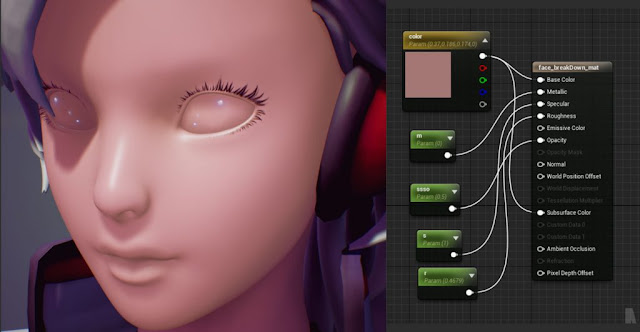
Add a Fresnel mask with darkened skin texture to control the effect of gradient from silhouette similar to the way 2D illustrator often do their shading

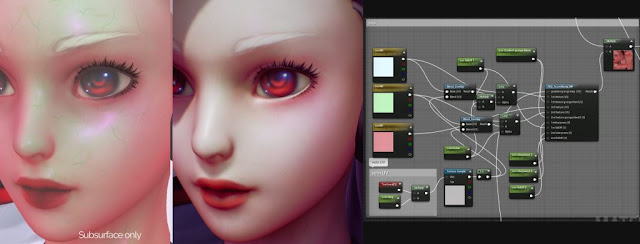
Create a Fresnel mask to blend two subsurface colors together to mimic the subtle color shifting gradient shading in painting.

A separate material function fresnel mask that has control over gradient position and strength. This function also allows adding some noise to a custom fresnel mask for a more organic skin look.
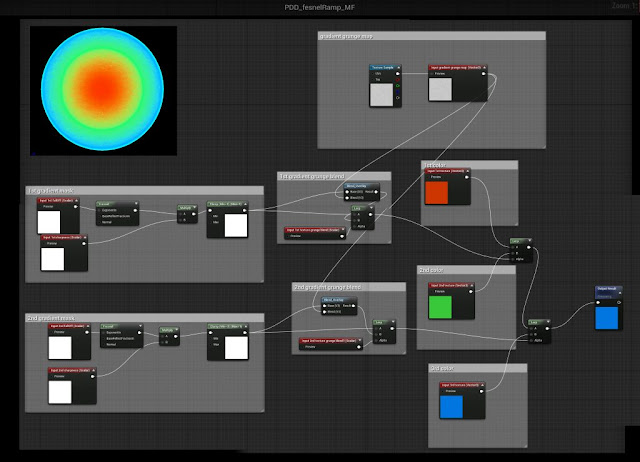
Using different strengths, falloff values and extra blended textures like veins and pores for a more organic look. Different combinations can generate a variety of looks.
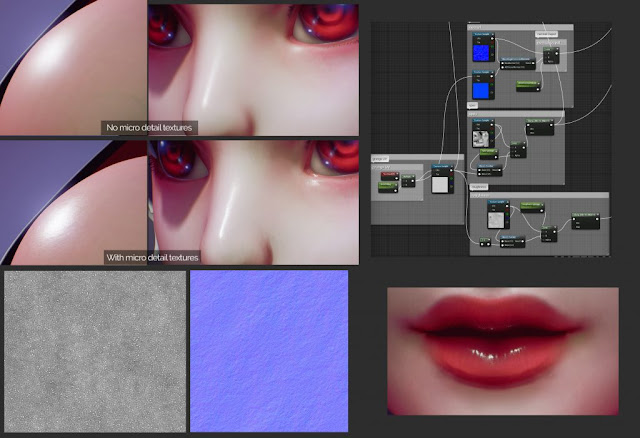
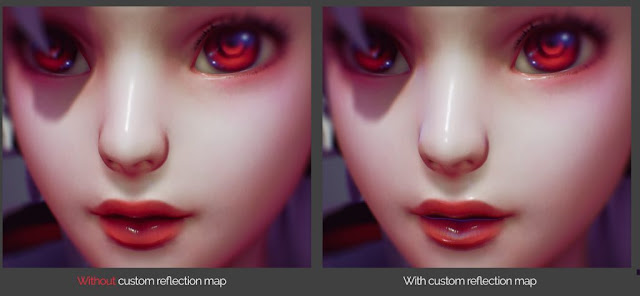
Some reflection/hi-light areas in 2D painting have many hot spots and small sparkles, adding some micro detail noise map on top of my base roughness / specular map /normal map by overlay blend with a micro grunge texture to add small details to specular when viewing up close.
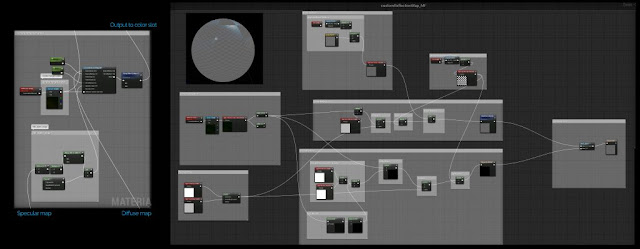
Create a custom reflection map to strengthen the hi-lighted areas, base reflection value, fresnel falloff, and specular map.
The Final results are fantastic. Thank you very much Phung!
