3D Artist Workflow
It's been a very busy few weeks. Lots and lots of training, working hard and playing in VR.
Back to modeling. The first part of the 3D Artist work flow is to produce and accurate model. I used Autodesk Maya. (See middle model). This has been reduced to the acceptable polygon face count for game engine use and then smoothed. This model is then exported in Zbrush.
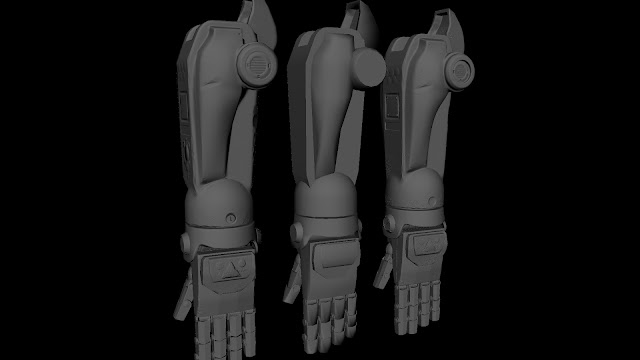
Once in Zbrush, a high poly model is created using a method of dynamesh, ZRemesher, divide and projection. Sounds complicated, but its simple once you've done it a few times. Then you can start on adding detail and mesh texture to make a high definition model. (See right model)
Before you can import the high poly mesh into Maya. you need to use Decimation master, in the Zplugin drop down. Anything from 5% to 20% usually works for me.
Now you'll have a small file size but still retain most of the detail. Now you need to use the original low poly model to make sure is a good match overlay. Changing the high poly model shader colour is a good idea. Once all the model is just about covered, you can start work on the UV.
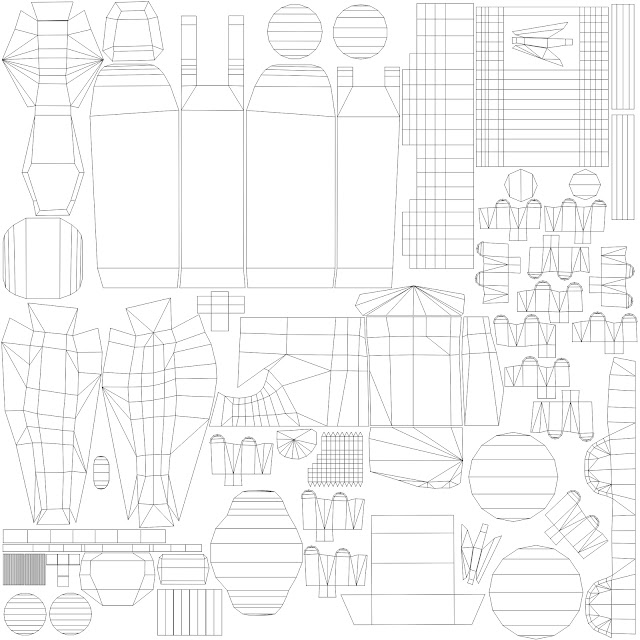
The UV will take some time but a few useful plugins can really help. Keeping ratio is very important but also take into consideration how the object is observed and how it will be used in a game engine. Some parts which have a lot of detail can be made bigger. Also, to save map space, UV overlapping can be applied.
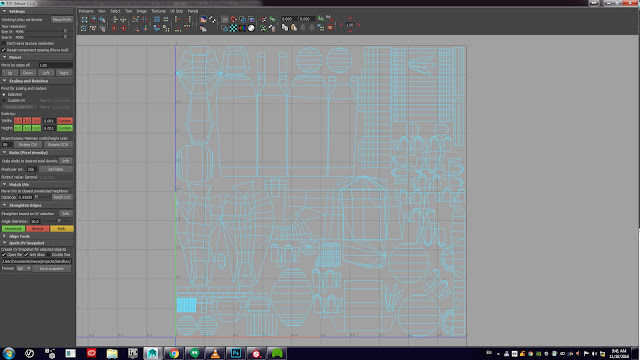
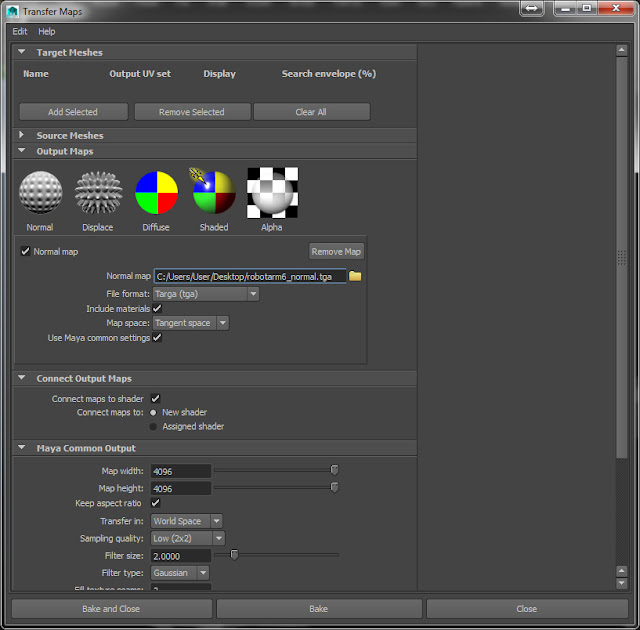
So my UV map is complete and its time to bake the high poly texture into a low poly texture map. In the rendering settings, select Lighting/Shading and then Transfer Maps. Using the floating option box you can control the details.
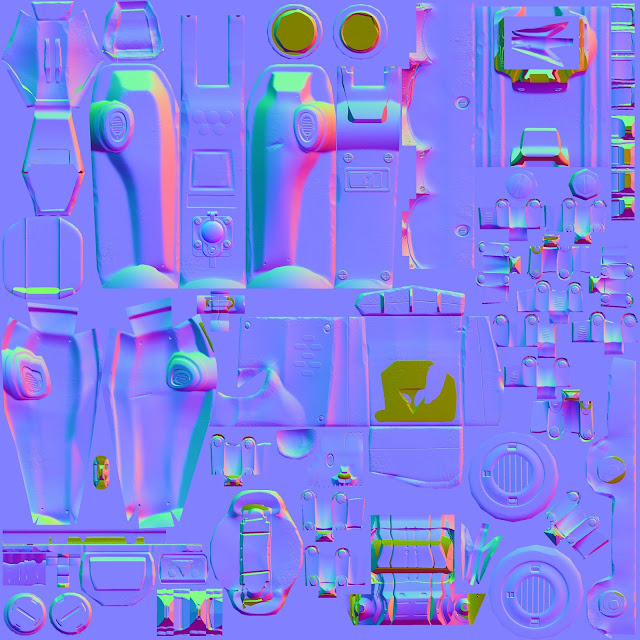
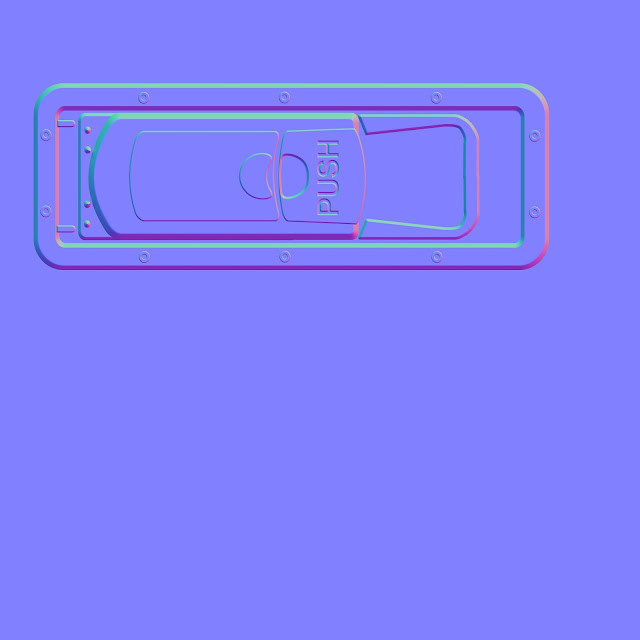
Once a 'Targa' normal map has been created, a shader will be applied to the low poly model. All the high poly detail should have been transferred across. If not, changed the search envelope %. You can end up with several maps (save as a different name) and then in Photoshop simply cut and paste together all the good parts. Eventually you'll end up with something like this.
But you may decide you want to correct some mesh details or even add new mesh details. To change the mesh at this point would mean to start the process again from the start of the high poly model. It's faster and easier to use two methods.
One way is to quickly make the part in Maya, transfer it into Zbrush and apply normal map material to the object. Then make sure you have a perfectly flat front view and take a screenshot. Cut and paste this into Photoshop on the original normal map.
Edit* In photoshop remember to invert the green channel for substance painter and other software if the indentation and shadows are incorrect. Normal maps work in two different systems based on Maya or 3D max.
The second way is to use Quixel. This is a Photoshop plugin which allows you to create Z depth in paintings. Simply draw the object you need and use the controls to get the right effect. Remember to create the object you need in the correct rotation. The light and shadow detail will look wrong if you created it at a horizontal rather than a vertical. I did this :( Then, cut and paste this into Photoshop on the original normal map.
*Edit. It's important to note that when you cut and paste the new layer you may find the detail is not as intended or looks weak compared to the original normal map. Simply duplicate it, and change the 'blue' channel (ctrl +L) from 255 to 128. Then apply an overlay or hard light in the layers blend tools.
Check out Quixel suite here.

And finally, Substance Painter. Check it out here.
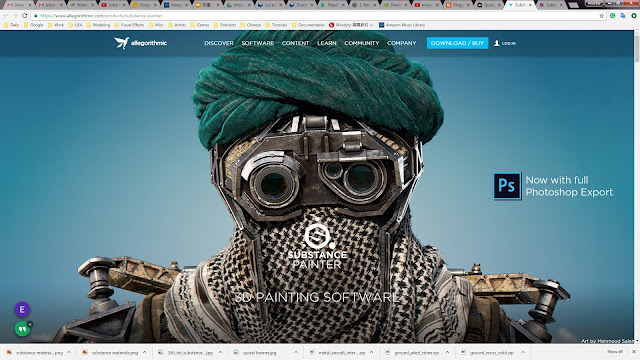
Import the mesh and normal map into substance painter and connect the Base, Height, Roughness, Metallic maps. Working similar to Photoshop, create layers and folders. Each folder can have a colour associated with it. This is very useful for ID maps. These are just colours applied to an area on the UV map which will allow a material to be applied to the whole piece directly. The material can been altered quickly and also copied to other folders without taking hours to hand paint areas.
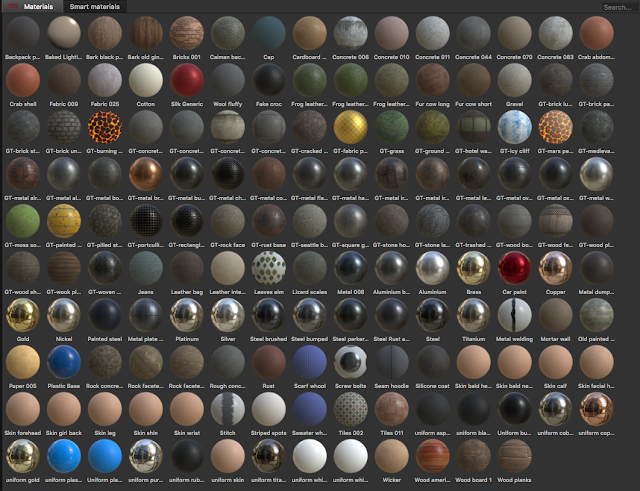
The material list is huge. And rapidly growing with the Substance community and the ability to create your own.
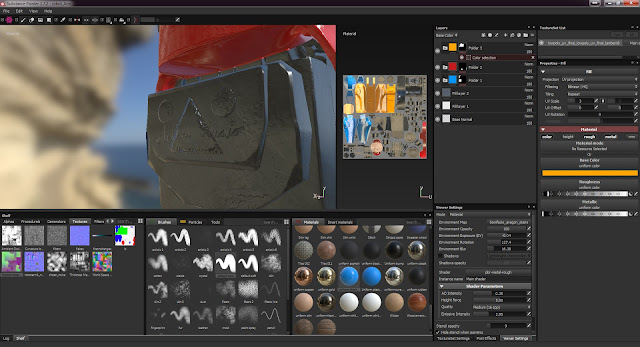
Within a few minutes I've got a base layer down and can start working on the details. Working within the material itself is procedural and yet an be manually adjusted. I need to get this project finished by the end of next week and then can move onto better things.
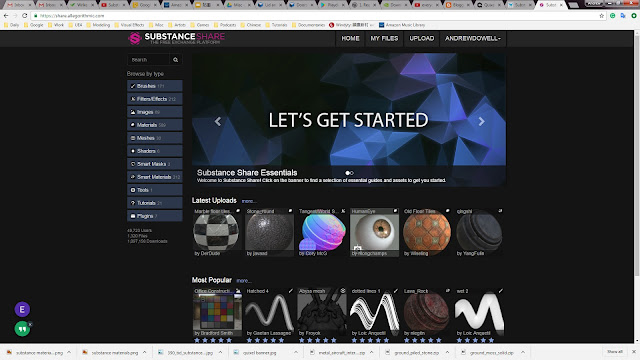
Check out the Substance painter community here:

Back to modeling. The first part of the 3D Artist work flow is to produce and accurate model. I used Autodesk Maya. (See middle model). This has been reduced to the acceptable polygon face count for game engine use and then smoothed. This model is then exported in Zbrush.

Once in Zbrush, a high poly model is created using a method of dynamesh, ZRemesher, divide and projection. Sounds complicated, but its simple once you've done it a few times. Then you can start on adding detail and mesh texture to make a high definition model. (See right model)
Before you can import the high poly mesh into Maya. you need to use Decimation master, in the Zplugin drop down. Anything from 5% to 20% usually works for me.
Now you'll have a small file size but still retain most of the detail. Now you need to use the original low poly model to make sure is a good match overlay. Changing the high poly model shader colour is a good idea. Once all the model is just about covered, you can start work on the UV.
The UV will take some time but a few useful plugins can really help. Keeping ratio is very important but also take into consideration how the object is observed and how it will be used in a game engine. Some parts which have a lot of detail can be made bigger. Also, to save map space, UV overlapping can be applied.


So my UV map is complete and its time to bake the high poly texture into a low poly texture map. In the rendering settings, select Lighting/Shading and then Transfer Maps. Using the floating option box you can control the details.

Once a 'Targa' normal map has been created, a shader will be applied to the low poly model. All the high poly detail should have been transferred across. If not, changed the search envelope %. You can end up with several maps (save as a different name) and then in Photoshop simply cut and paste together all the good parts. Eventually you'll end up with something like this.

But you may decide you want to correct some mesh details or even add new mesh details. To change the mesh at this point would mean to start the process again from the start of the high poly model. It's faster and easier to use two methods.
One way is to quickly make the part in Maya, transfer it into Zbrush and apply normal map material to the object. Then make sure you have a perfectly flat front view and take a screenshot. Cut and paste this into Photoshop on the original normal map.
Edit* In photoshop remember to invert the green channel for substance painter and other software if the indentation and shadows are incorrect. Normal maps work in two different systems based on Maya or 3D max.

The second way is to use Quixel. This is a Photoshop plugin which allows you to create Z depth in paintings. Simply draw the object you need and use the controls to get the right effect. Remember to create the object you need in the correct rotation. The light and shadow detail will look wrong if you created it at a horizontal rather than a vertical. I did this :( Then, cut and paste this into Photoshop on the original normal map.
*Edit. It's important to note that when you cut and paste the new layer you may find the detail is not as intended or looks weak compared to the original normal map. Simply duplicate it, and change the 'blue' channel (ctrl +L) from 255 to 128. Then apply an overlay or hard light in the layers blend tools.

Check out Quixel suite here.

And finally, Substance Painter. Check it out here.

Import the mesh and normal map into substance painter and connect the Base, Height, Roughness, Metallic maps. Working similar to Photoshop, create layers and folders. Each folder can have a colour associated with it. This is very useful for ID maps. These are just colours applied to an area on the UV map which will allow a material to be applied to the whole piece directly. The material can been altered quickly and also copied to other folders without taking hours to hand paint areas.
The material list is huge. And rapidly growing with the Substance community and the ability to create your own.

Within a few minutes I've got a base layer down and can start working on the details. Working within the material itself is procedural and yet an be manually adjusted. I need to get this project finished by the end of next week and then can move onto better things.

Check out the Substance painter community here:
