Achieving Cinematic quality with post-process effects in UE4 - Part1
Achieving cinematic quality with post-process effects in UE4 | Webinar | Unreal Engine
This excellent webinar quickly covers all the important information when creating and adjusting post-process effects in ue4.
In this webinar, Technical Artist Matthew Doyle goes through the different post-process effects that can dramatically enhance the visual quality of a scene in Unreal Engine. Learn how to work with depth of field, light bloom, exposure, tone mapping, color grading, ray-traced reflections, and more.
For the full video, check it out here. https://www.youtube.com/watch?v=aGsUU_bvOgw
These are my highlights and quick reference guides for future projects:
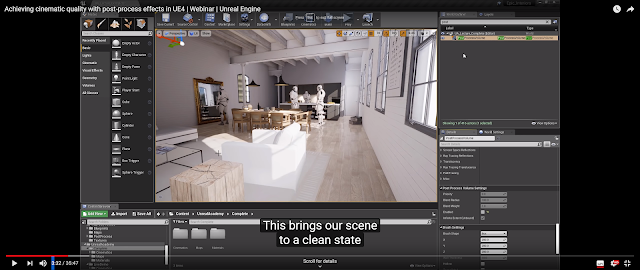
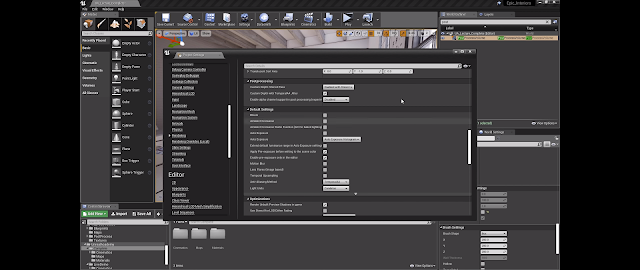
Turn off all the render setting in the Project Setting.
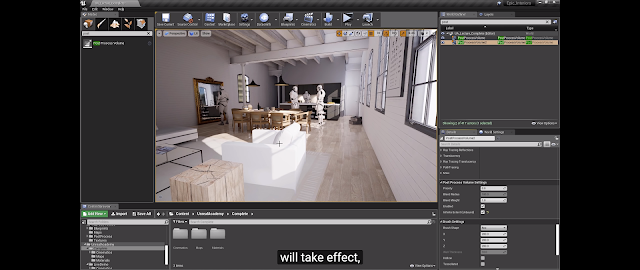
Drag in a post-process volume and click enable and unbound.
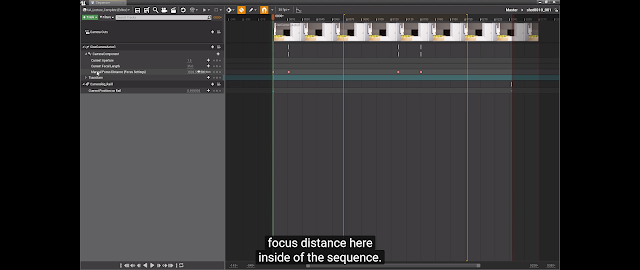
Camer Focus setting can be adjusted directly on the camera or in master sequencer.
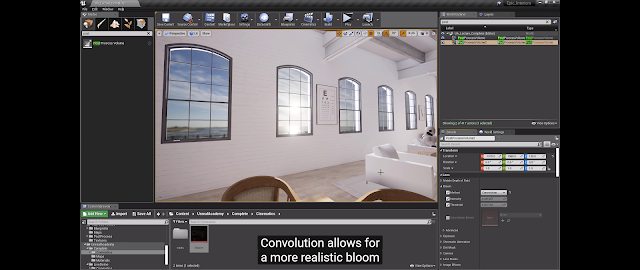
Convolution bloom is more realistic but is more expensive.
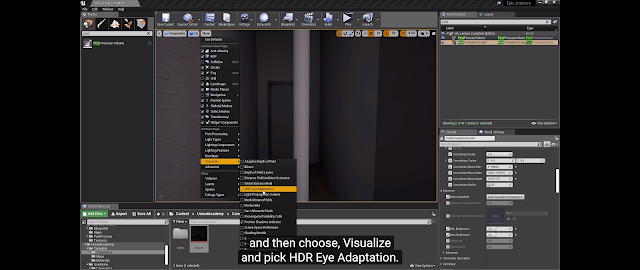
You can manually adjust the auto exposure setting. Best done whilst facing a dark area.
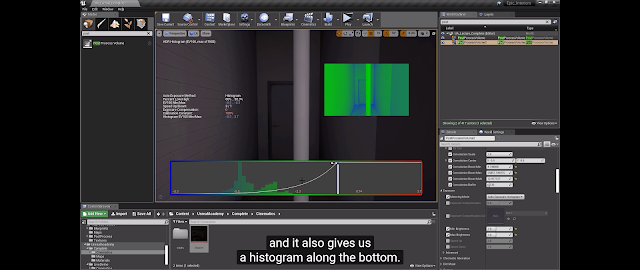
You can check it using the visualize HDR eye adaptation.
The histogram will allow you to adjust the settings to perfection.
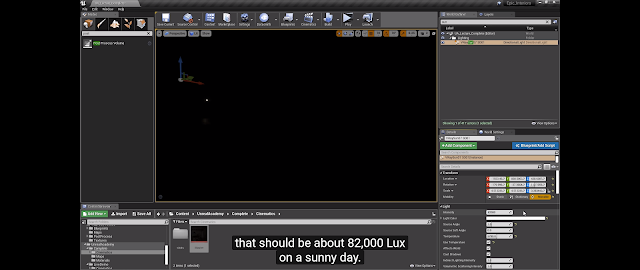
Natural sunlight for a sunny day would be 82,000 Lux
Chromatic Aberration can be used to soften a scene or simulate visual distortion.
A dirt mask texture can be applied to the camera and adjusted.

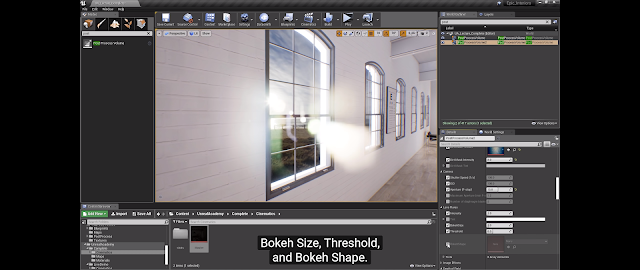
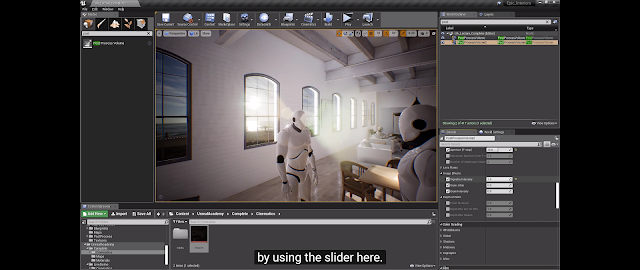
Light shafts / god rays are easily achieved and the Bokeh size, shape and color can be adjusted.
Grain and vignette can also be adjusted by a slider.
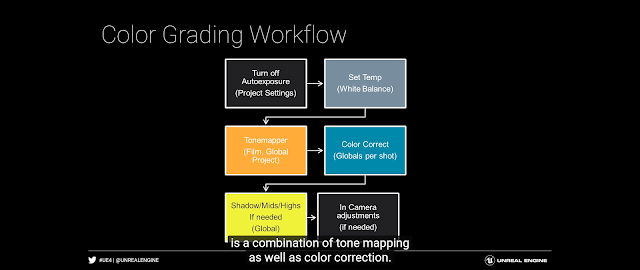
Use this workflow for best effects.
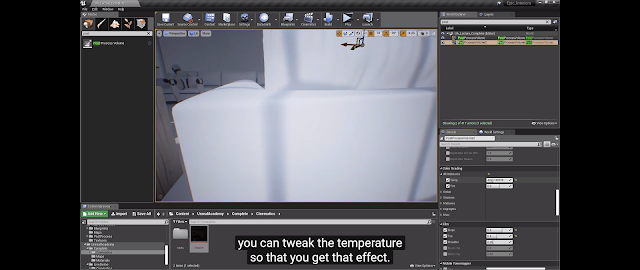
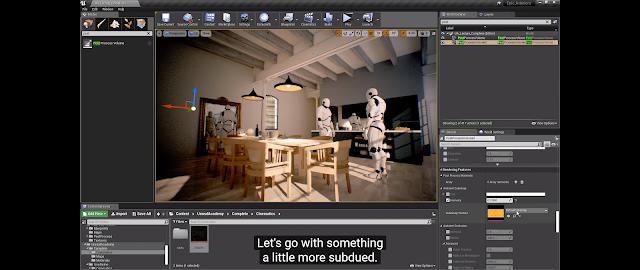
Finding the right white balance temperature can be done whilst focusing on the whitest material in the scene and then adjusted.
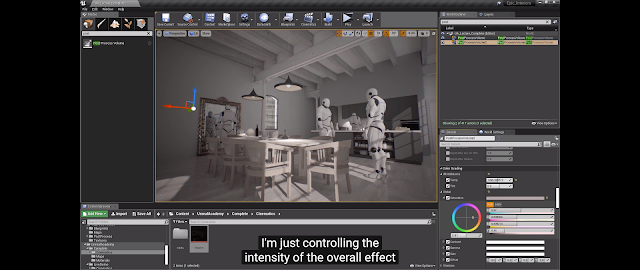
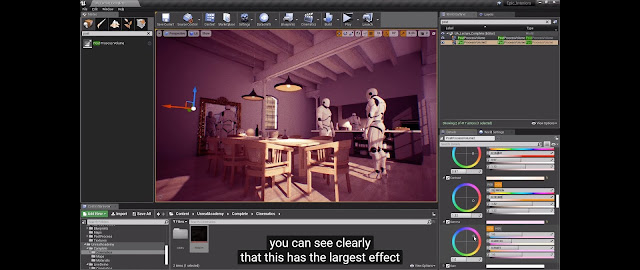
Colour grading: Saturation colour
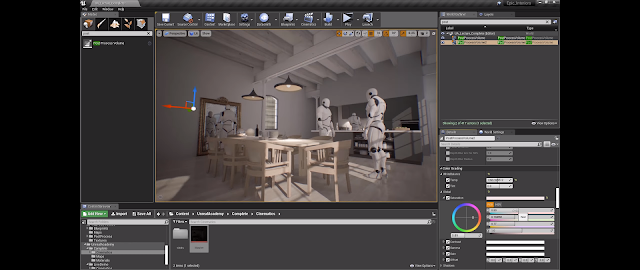
Colour grading: saturation intensity
Colour grading: Contrast works with complimentary colours

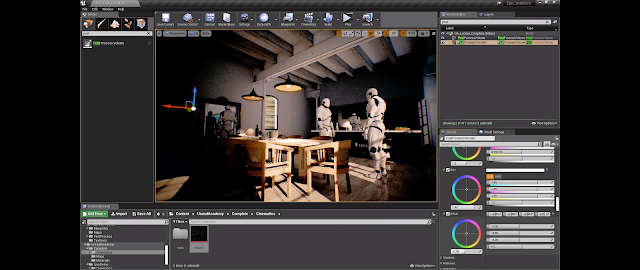
Colour grading: Gamma colour
Colour grading: Offset
Ambient Cubemat Textures with tints and intensity can bring polish to a scene.
But it's not completely perfect as it won't completely work on corners and cracks.

You can correct this using the buffer visualization and select ambient occlusion.
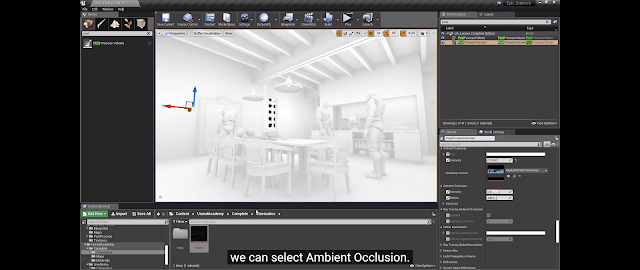
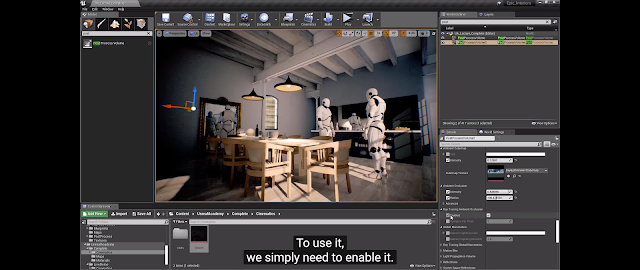
Ray tracing ambient occlusion needs to be enabled.
Follow the rest of the guide on part 2.
https://andrewdowell.blogspot.com/2019/12/achieving-cinematic-quality-with-post_30.html
This excellent webinar quickly covers all the important information when creating and adjusting post-process effects in ue4.
In this webinar, Technical Artist Matthew Doyle goes through the different post-process effects that can dramatically enhance the visual quality of a scene in Unreal Engine. Learn how to work with depth of field, light bloom, exposure, tone mapping, color grading, ray-traced reflections, and more.
For the full video, check it out here. https://www.youtube.com/watch?v=aGsUU_bvOgw
These are my highlights and quick reference guides for future projects:

Turn off all the render setting in the Project Setting.

Drag in a post-process volume and click enable and unbound.

Camer Focus setting can be adjusted directly on the camera or in master sequencer.

Convolution bloom is more realistic but is more expensive.

You can manually adjust the auto exposure setting. Best done whilst facing a dark area.

You can check it using the visualize HDR eye adaptation.

The histogram will allow you to adjust the settings to perfection.

Natural sunlight for a sunny day would be 82,000 Lux

Chromatic Aberration can be used to soften a scene or simulate visual distortion.

A dirt mask texture can be applied to the camera and adjusted.

Light shafts / god rays are easily achieved and the Bokeh size, shape and color can be adjusted.

Grain and vignette can also be adjusted by a slider.

Use this workflow for best effects.


Finding the right white balance temperature can be done whilst focusing on the whitest material in the scene and then adjusted.

Colour grading: Saturation colour

Colour grading: saturation intensity

Colour grading: Contrast works with complimentary colours

Colour grading: Gamma colour

Colour grading: Offset

Ambient Cubemat Textures with tints and intensity can bring polish to a scene.

But it's not completely perfect as it won't completely work on corners and cracks.

You can correct this using the buffer visualization and select ambient occlusion.

Ray tracing ambient occlusion needs to be enabled.
Follow the rest of the guide on part 2.
https://andrewdowell.blogspot.com/2019/12/achieving-cinematic-quality-with-post_30.html

